Tutorial
This tutorial will walk you through how to set up a property that only has residential units, for properties with commercial units, please visit this page for more details.
The first step is creating an account via the Log In/Sign Up button at the top right of the page. From there you will see this site, where you will enter an email address and password to set up your account.
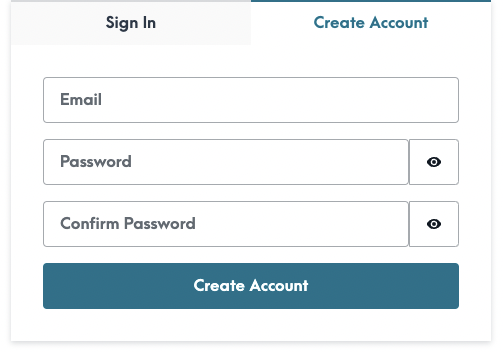
You can choose any email address you like, if you need to transfer to another board member or property manager in the future there is an easy transfer process allowing you to do so.
It takes a few seconds to load so don’t worry about the spinning circle!
Once you’ve created your account you’ll have to Create a New Property.
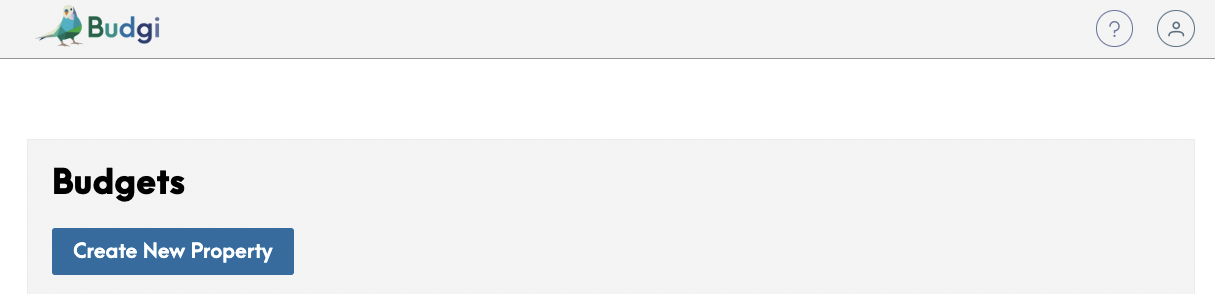
Then for that property you’ll be able to Create a New Budget.

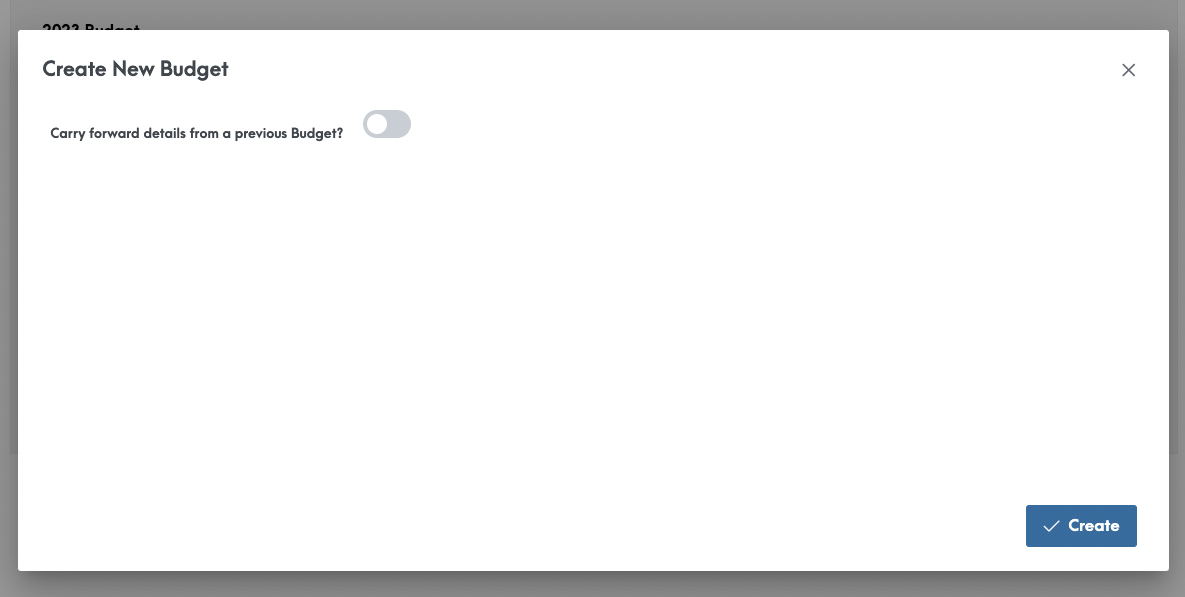
If you have a budget from a previous year you’d like to use as a starting point you’ll see this prompt, allowing you to select which budget you’d like to re-use.
Fill out all the fields with the appropriate information. Total units in your condo corp is the total of Residential Units (suites/condos etc), so just enter zero for the Commercial Units and Unit Factors. Ensure that the Commercial unit factors plus Residential factors add up to the total! You also have the ability to enter what your units are called in the “Unit Identifier” field if you use a different name for this item.
This is an example of how a building with 10 Residential Units should fill in their form (assuming the norm for Alberta of 10,000 unit factors is applied, your property/jurisdiction may be different so please refer to your plan).
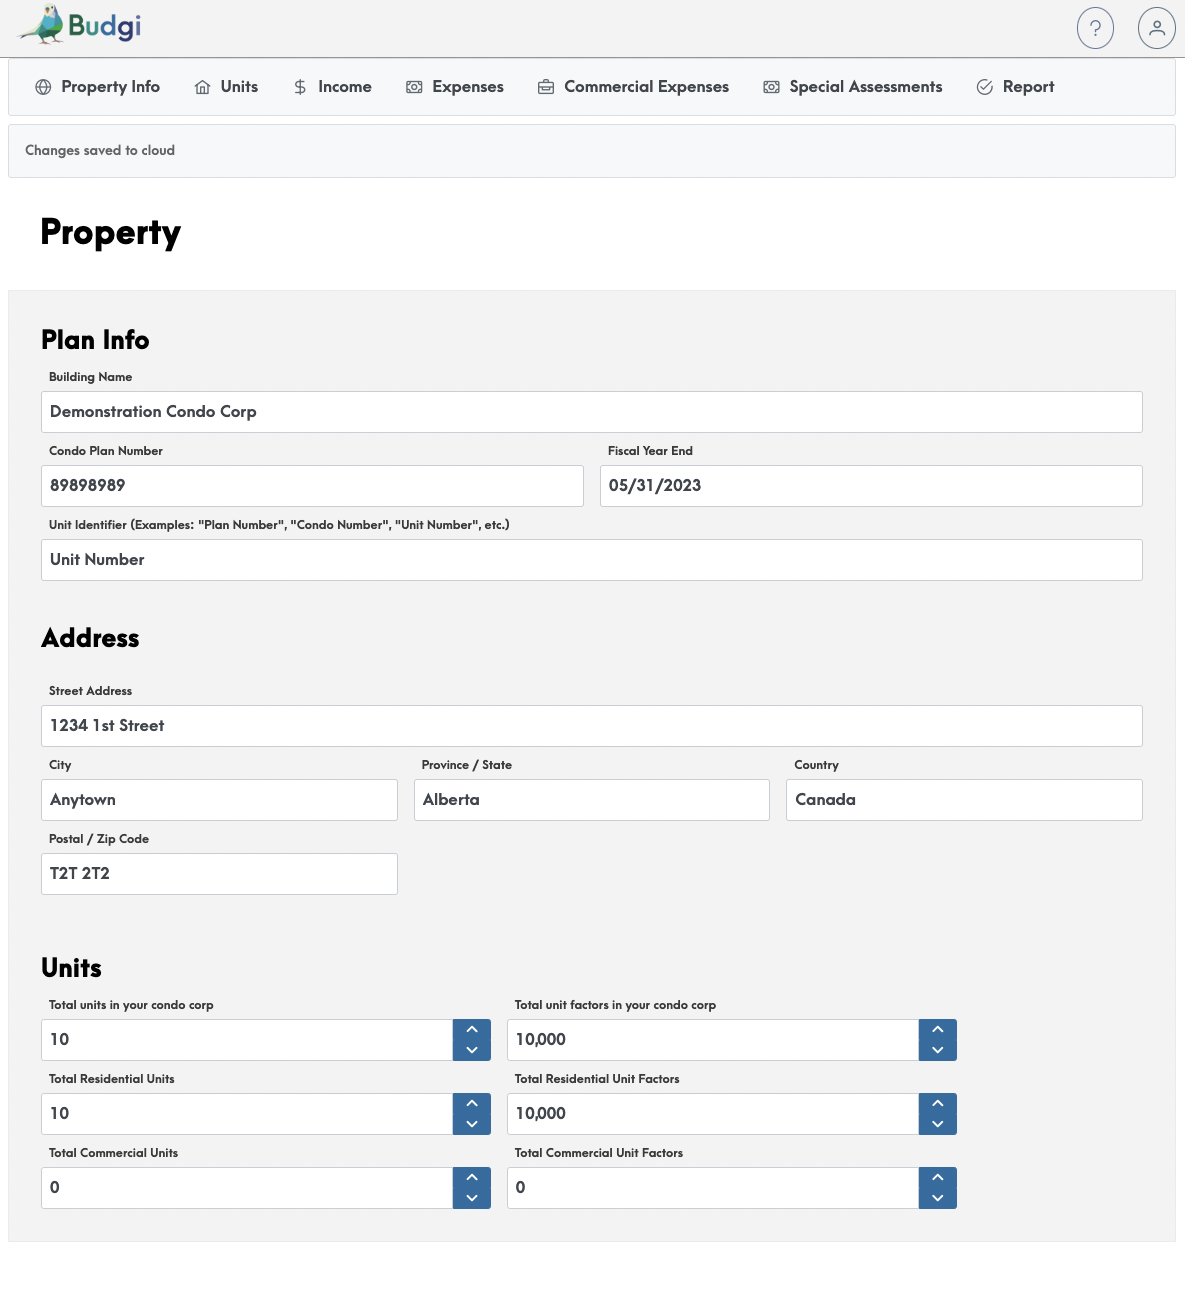
This will bring you to the Property Info page within the Budgi dashboard.
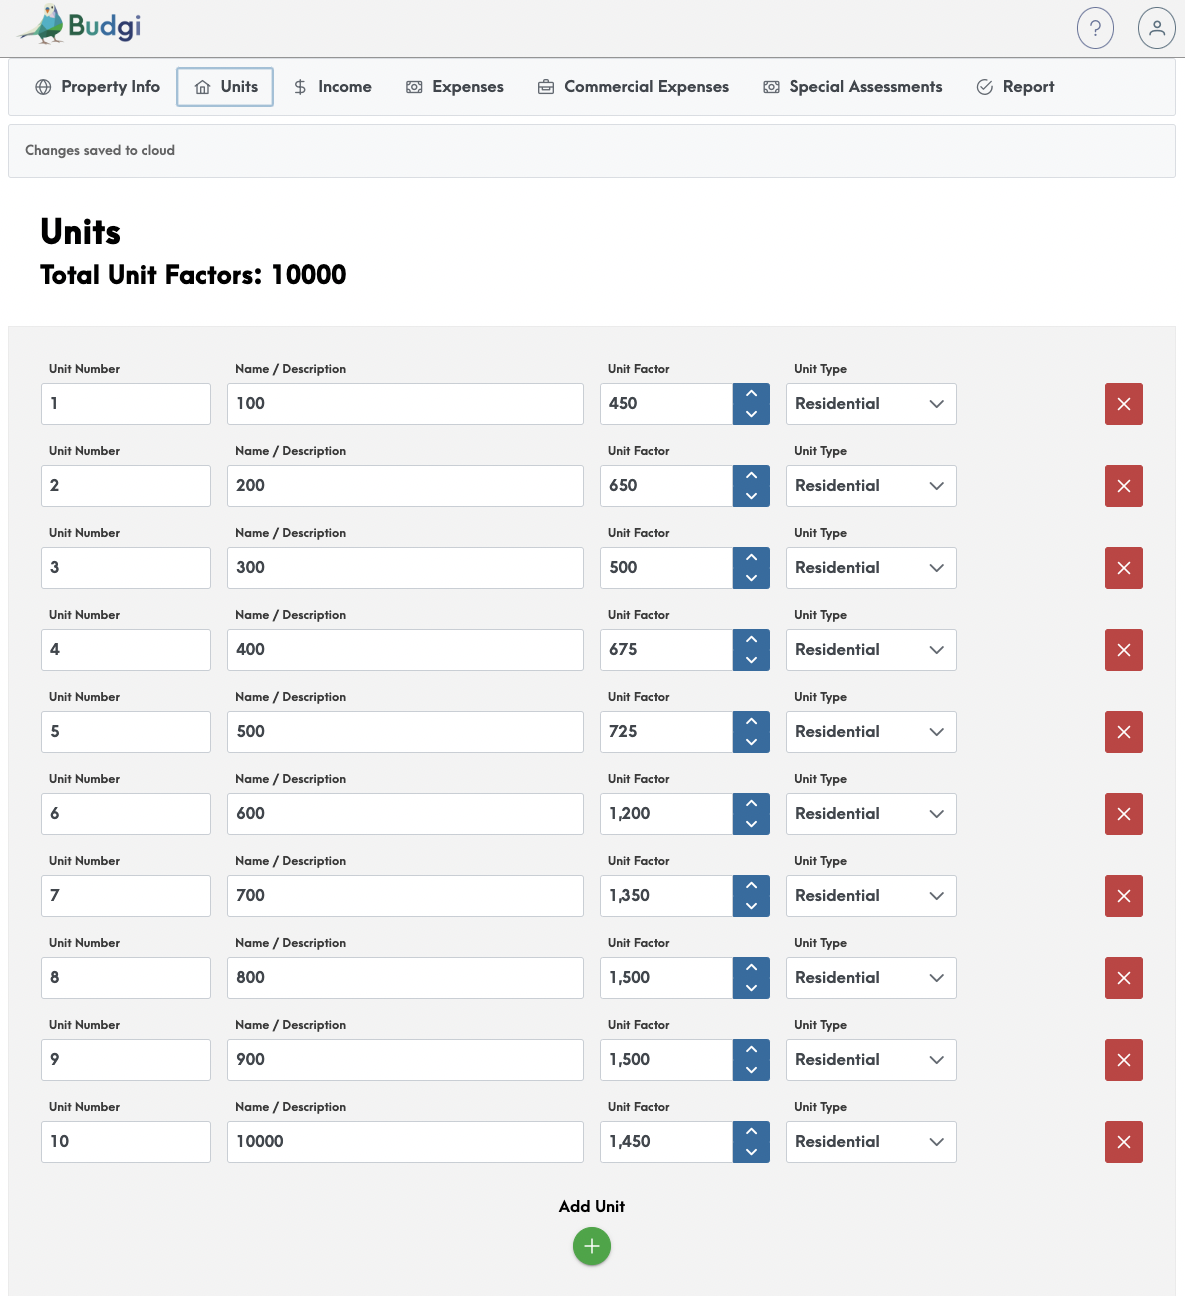
Once this page is filled in click on the Units tab at the top of the Dashboard then start adding units
Use the unit factor data from your condominium plan or similar document to fill in the appropriate information for all of the units in your property. A running total at the top will help you make sure you’ve entered all your units and that they add up to the total unit factors in your plan.
Legal Unit ID: This is what an owner’s unit would be referred to on their title document and in the plan for the property filed with the registry.
Name: This is unit number that forms a part of the civic/mailing address for the unit. For example: XXXX - 1234 1st Street, Anytown, Canada. You would enter the XXXX number here.
Unit Factor: This is the number of unit factors this unit has, as noted in the plan. It determines what amount of fees this unit owners pays each month or towards a special assessment.
Unit Type: Select whether this unit is a Residential or Commercial property so that the proper formula is applied to determine their fees if there is a differentiation between the two owner types in fee calculation.
Ensure that you have entered all this data carefully, report generation will show a BAD DATA error if the numbers entered here do not add up the unit factors entered in the Property Info page.
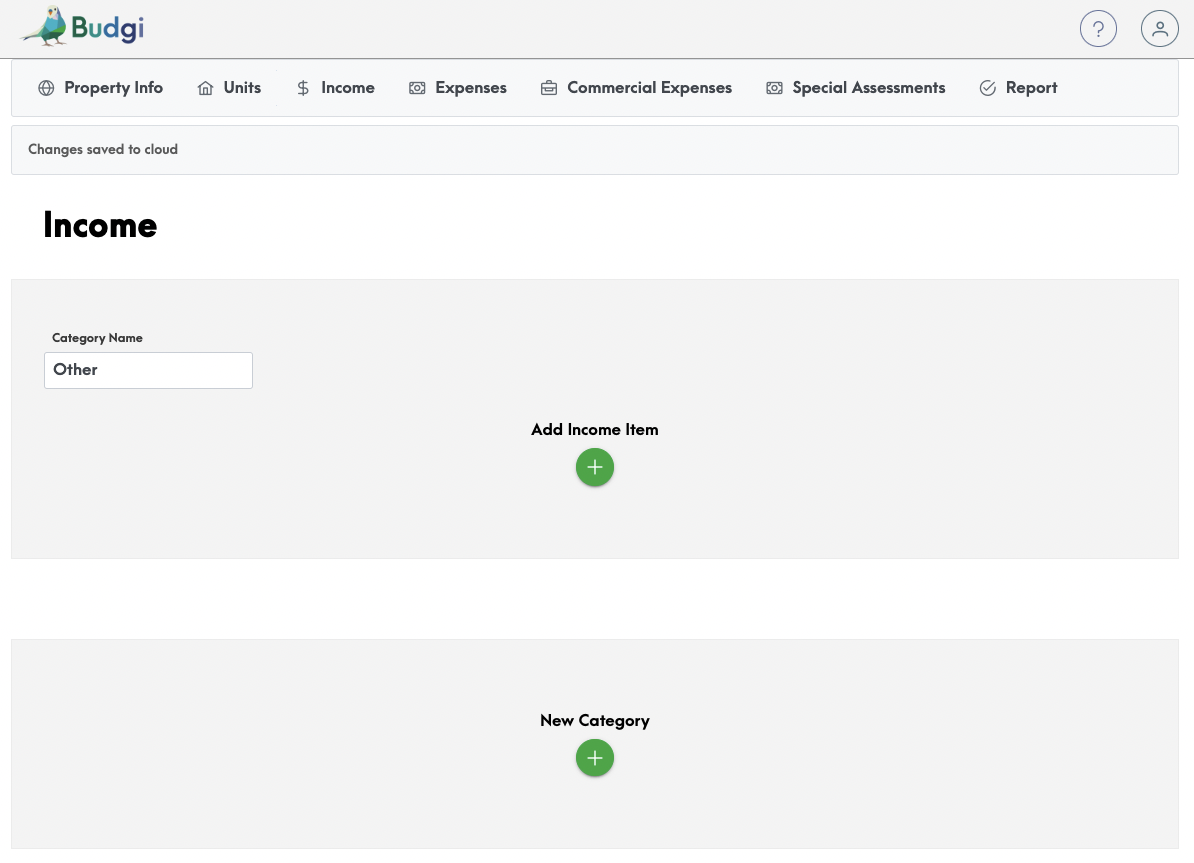
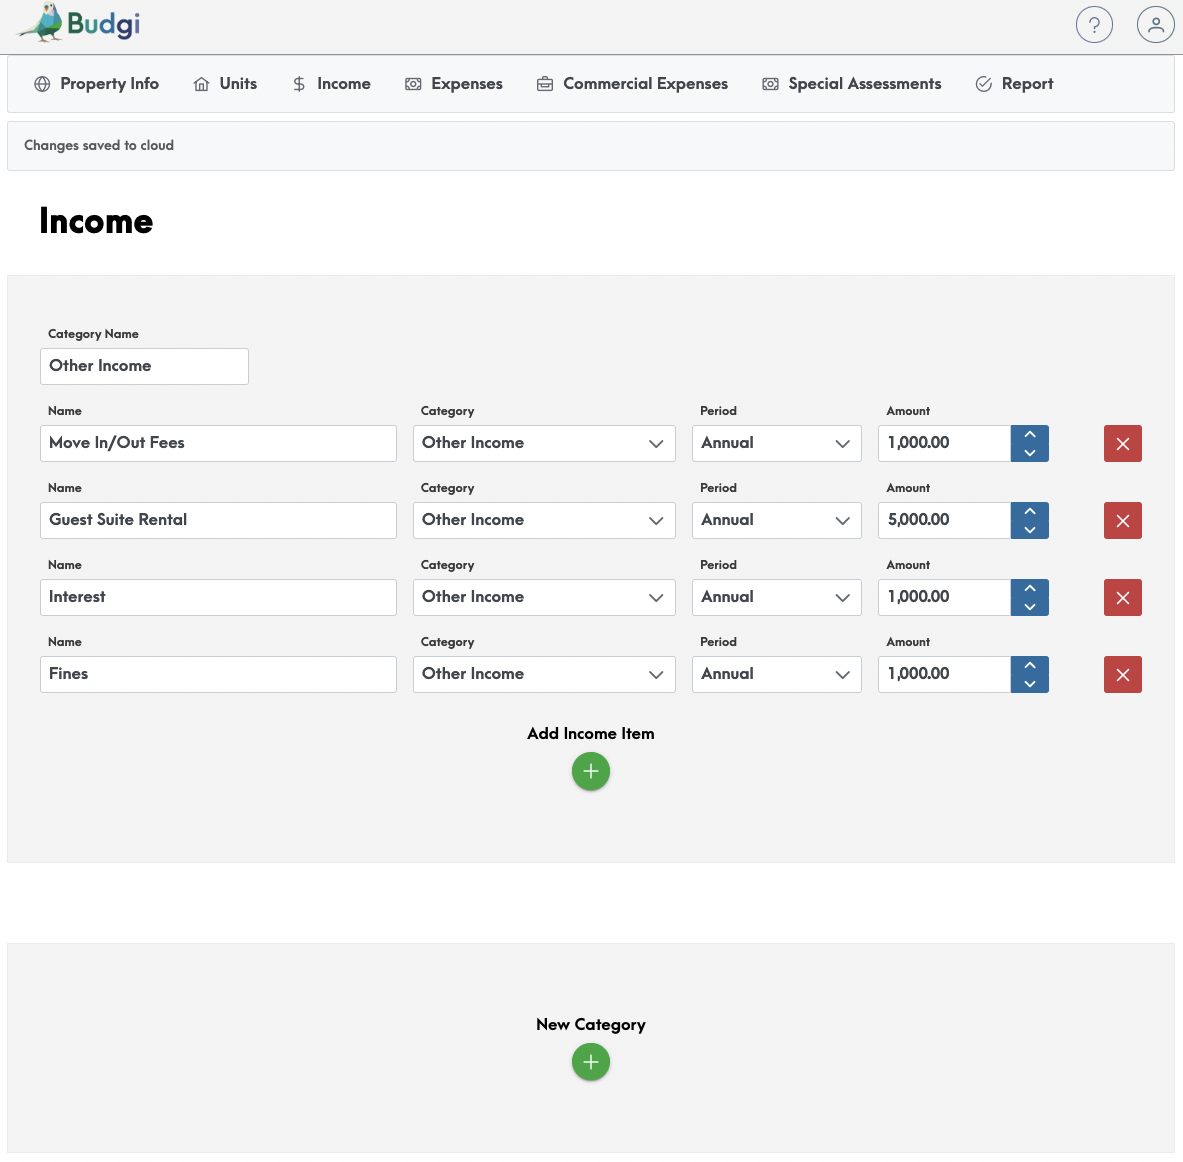
The Income tab is where you will enter the revenues that your property collects other than the fees that are determined by your expenses. For example you may collect move in/out fees, key replacement, guest suite rental, fines or interest. You can create multiple categories if there are wide ranging income items, or simply name the one category “Other Income” and note the sub-items. If you budget for no other income besides condo fees, just keep it blank and it will not be included in your report.
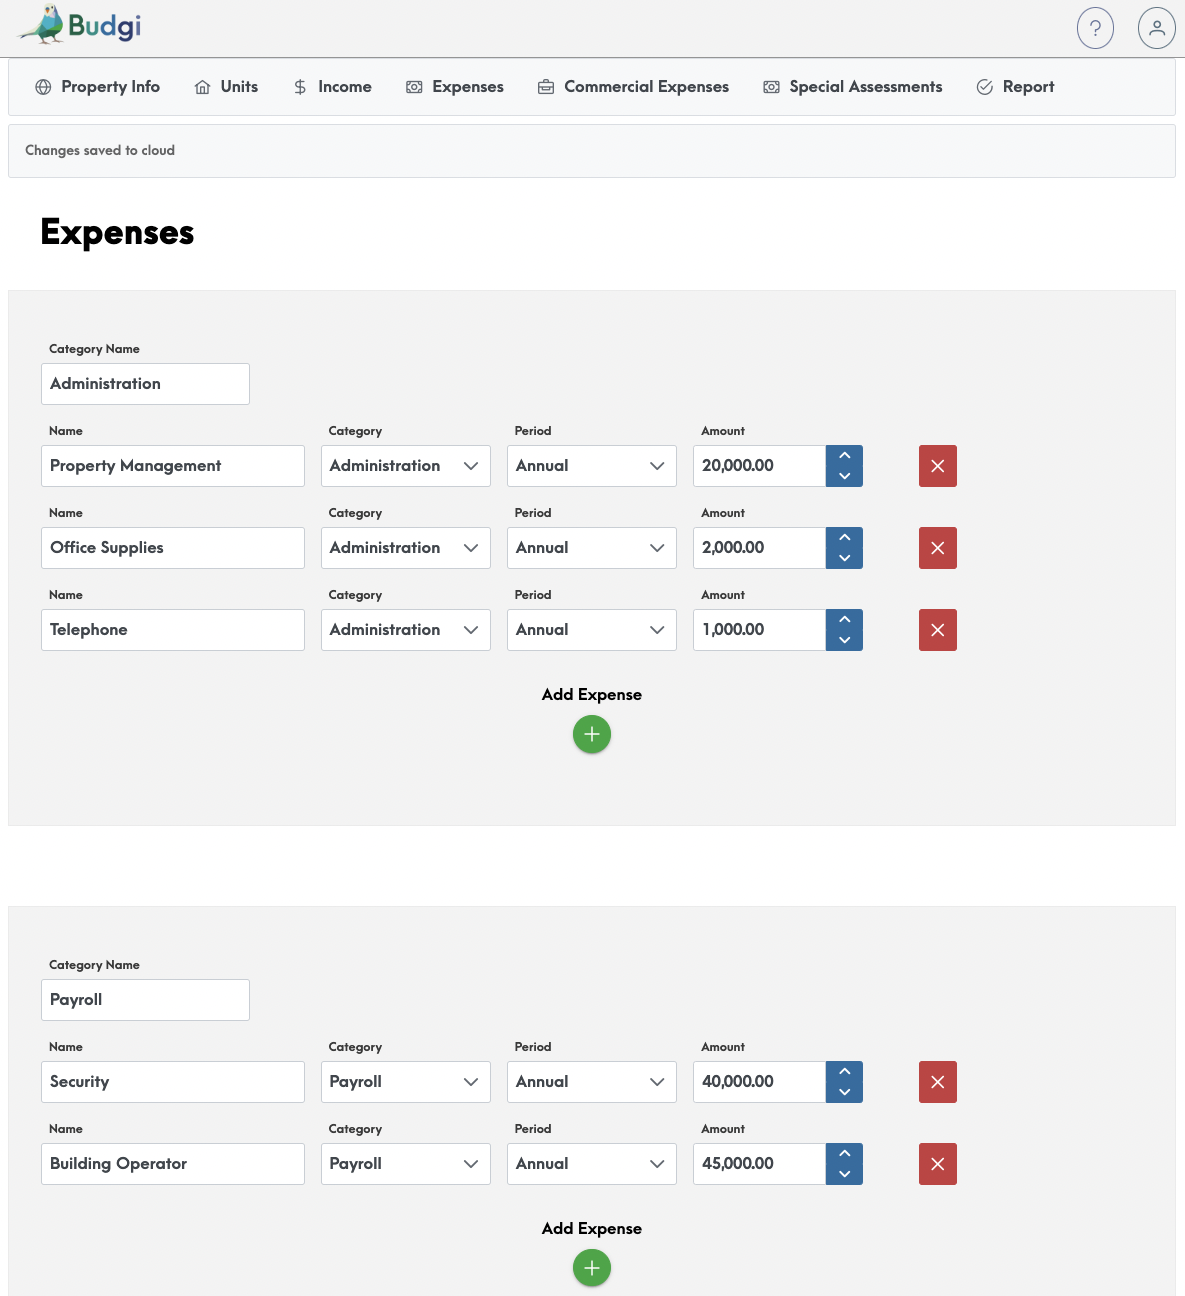
Once you’ve filled in your income items that are in addition to the condo fees collected, select the “Expenses” tab. There are a few pre-populated categories, if they are not applicable just delete the text, or rename. Expense items can be re-categorized via the drop down menu allowing you to re-order items however you prefer.

Input your expense items and select whether they are monthly or annual. You will also include any Reserve Fund transfers. If you put an item under the wrong category, just click in the category drop down and select where you would like it to be recategorized.
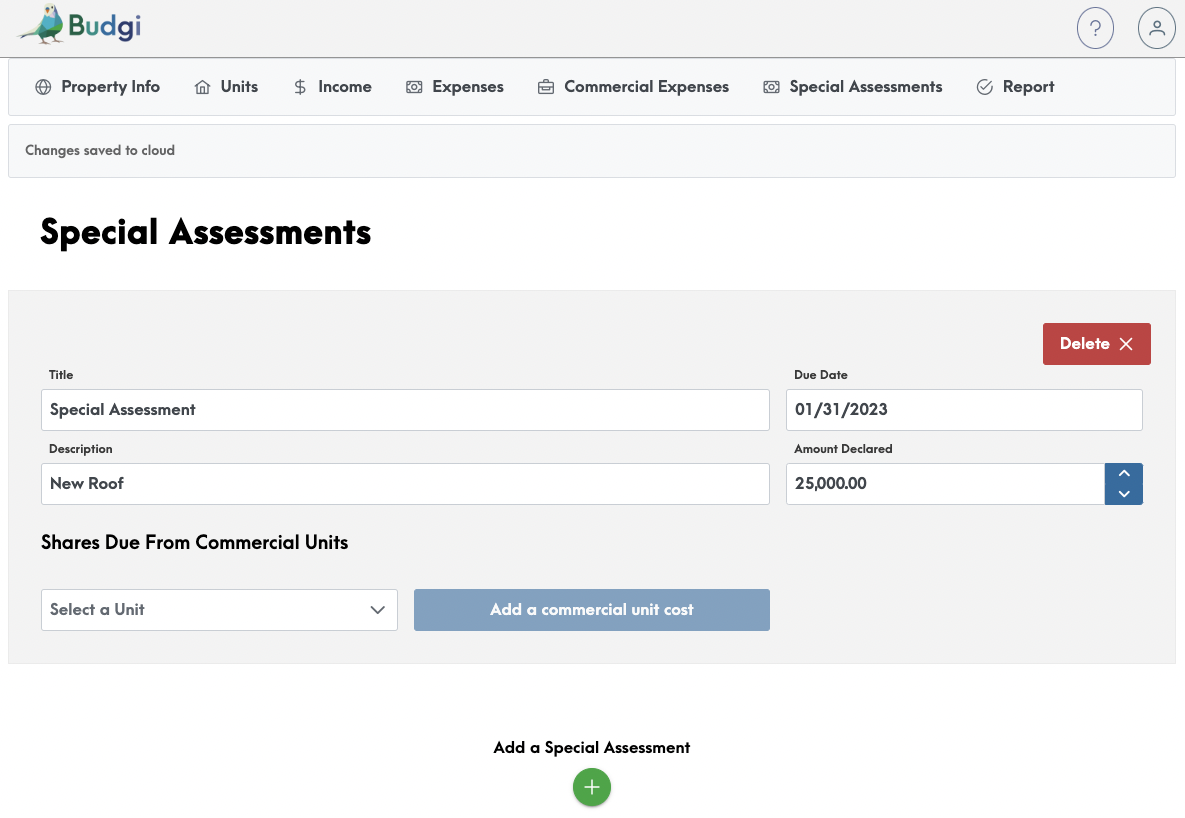
Once you’ve entered all your expense items you can add a special assessment if you have budgeted for one in the coming fiscal year.

Please review the parameters of your jurisdiction as to what types of expenses can be attributed towards the income received from a special assessment. Once you have confirmation that this item is an appropriate charge for your budget, enter the Title as it should appear in the budget, a description, the due date and the amount declared.
Payment of $3/door is required prior to each year’s report generation.
If there are any errors you notice or changes required after the fact you can always go back and change them without additional charges. Simply enter your credit card number, expiry date, CVC number and the postal/zip code associated with your billing address. If the “Generate Budget” button isn’t bright green, just refresh the screen or log out and re log in and go to report as your session may have timed out. Don’t worry all your data entries will still be there! Once you’ve got the bright green “Generate Budget” button, click on it, to see all your budget items.
If everything looks correct click on download report and you’ll receive PDF file of your budget, monthly fees per unit, commercial fees and special assessment per unit. If any of the items are incorrect you can always go back, correct then generate budget and download report again to confirm everything has been corrected. Then you can email your budget to your owners and come back to do it again next year!

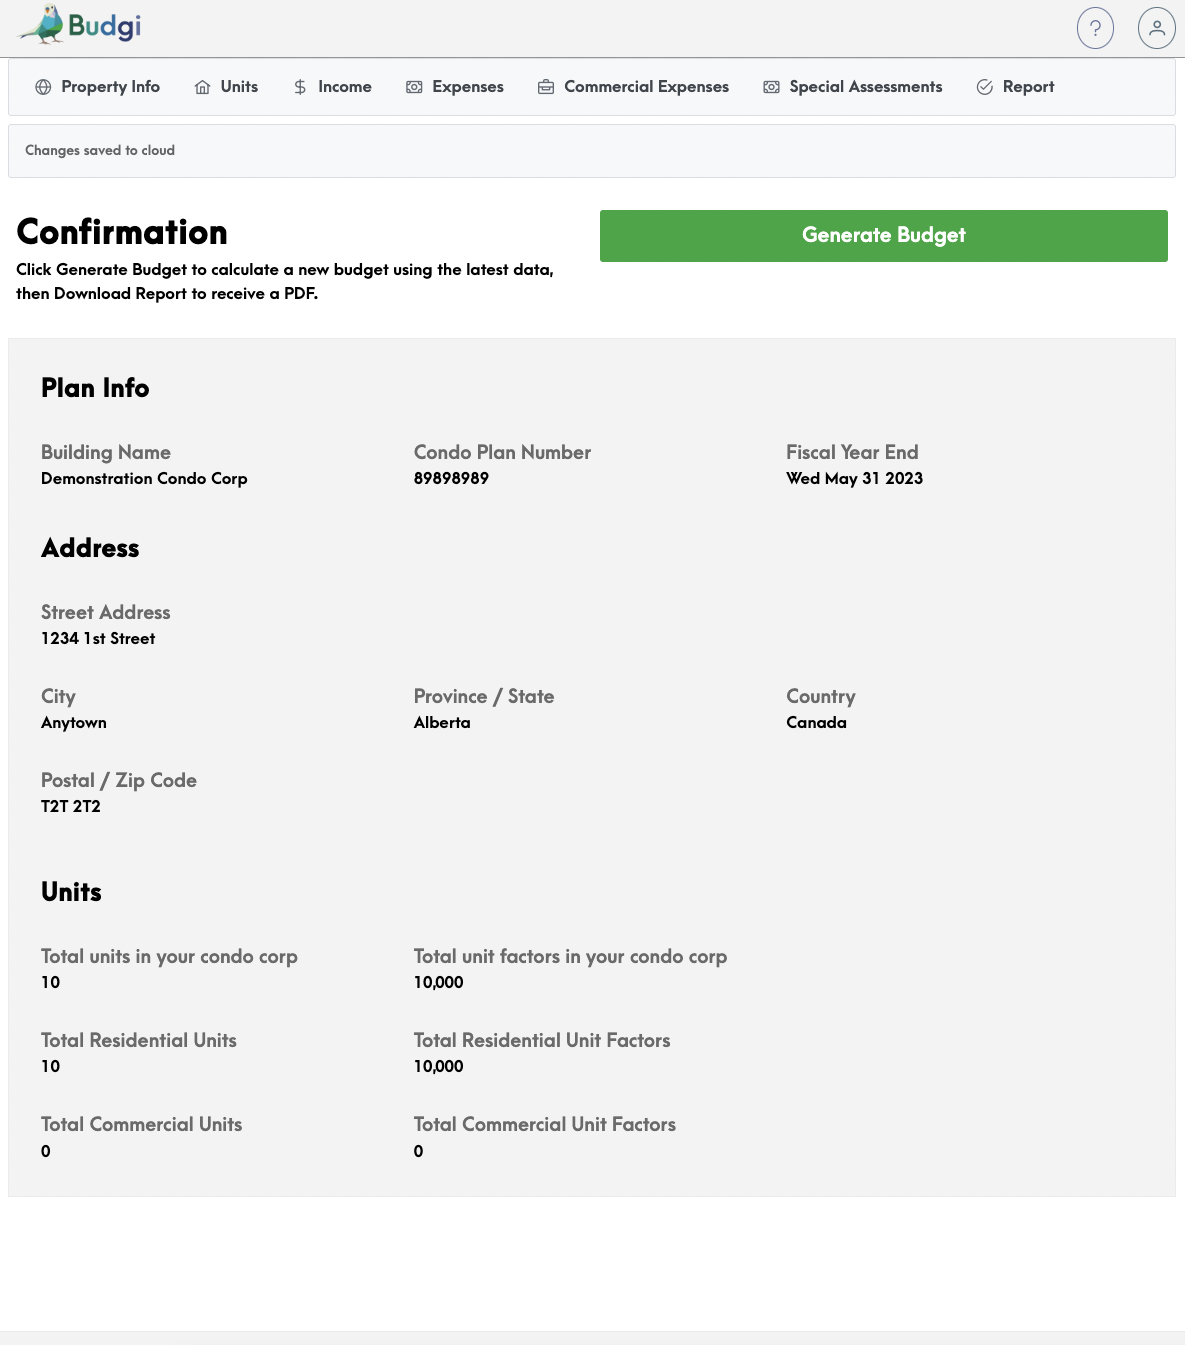
Now you’re ready to generate your report which will include your budget, monthly fee per unit and share per unit of any special assessments.